본문 바로가기
web/Vue

Nuxt(Vue) 로 admin page 만들기 (1)

by 뽀리님 2023. 9. 4.

Vue가 지원하는 Admin 템플릿들은 꽤나 많다.

나는 그 중에 Vuetify를 써서 구현해보려한다.

해당 페이지에서 공짜로 지원하는거 중 맘에 드는걸로 골라 다운받은 후 프로젝트에 붙여넣었다.

https://themeselection.com/vuetify-admin-template-github/


Top 10+ Vuetify Admin Template GitHub 2023

The collection of Vuetify Admin Template Github. Develop interactive web apps with help of these Vuetify Admin dashboards from GitHub.

themeselection.com


내가 받은건 

Vuetify + Material 기반이다. 

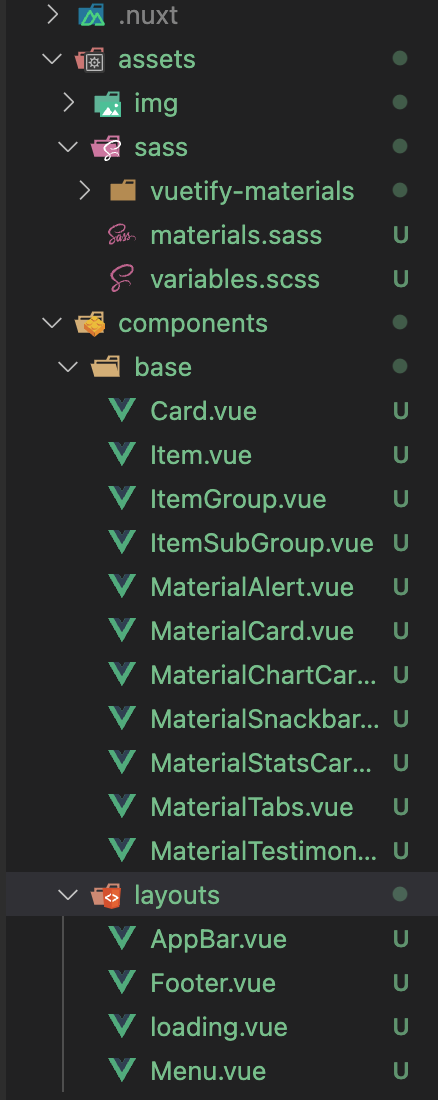
다운받은 파일을 토대로 sass 에, components 에 각각 넣어준다.


1. Vuetify lib 설치

yarn add vuetify
yarn vuex-persistedstate vue@"^2.7.


vuex-persistedstate 새로고침시 store 값을 유지하기 위해 쓰는 라이브러리다.


2. 설정파일(nuxt.config.js) 에 다운로드한 scss 추가

css: [
       '~/assets/sass/variables.scss',
],


3. layouts/default.vue 작성


<template>     
     <div>
         <Nuxt />
     </div>
</template>

우리가 URL 을 통해 접근하면 기본적으로 화면에 표시되는 컴포넌트는 layouts/default.vue 컴포넌트이다.

레이아웃은 header/ left-contents / footer 형식으로 나누었고, 아까 다운받은 .vue 파일들 임포트시켜준다.


import Header from '~/components/layouts/AppBar'
import Menu from '~/components/layouts/Menu'
import Footer from '~/components/layouts/Footer'


4. 메뉴명과 링크연결을 위해 Menu.vue을 수정하였다.

<v-list dense nav>
   <v-list-item>
      <v-list-item-avatar class="align-self-center" color="white" contain>
          <v-img src="이미지링크" max-height="30" />
      </v-list-item-avatar>
 
      <v-list-item-content>
          <v-list-item-title class="title">backoffice</v-list-item-title>
          <v-list-item-subtitle>아무개 님</v-list-item-subtitle>
      </v-list-item-content>
   </v-list-item>
</v-list>
data () {
      return {
          items: [
                 { icon: 'mdi-view-dashboard', title: '서비스 통계', to: '/' },
                 { icon: 'mdi-chat-alert', title: '1:1 문의관리', to: '/inquire' },
                 { icon: 'mdi-account-multiple', title: '회원 관리',
                   group:'/account',
                            children :{ title: '일반회원', to: '/normal' },
                                                 { title: '탈퇴회원', to: '/withdrow' },
                                                 { title: '회사관리', to: '/company' },
                                                 { title: '승인관리', to: '/approve' },
                                            ]
                  },
                 { icon: 'mdi-folder', title: '팝업 관리', to: '/popup' },
                 { icon: 'mdi-email-multiple-outline', title: '메일링 관리', to: '/mail' },
                 { icon: 'mdi-tag', title: '태그 관리', to: '/tag' },
                 { icon: 'mdi-code-greater-than-or-equal', title: '코드 관리', to: '/code' },
                 { icon: 'mdi-bell-ring-outline', title: '공지 및 약관관리', to: '/notice' },
        ]
    }
},

각각 메뉴명에 맞는 아이콘들 태그는 아래 페이지에서 갖고왔다.

https://pictogrammers.com/library/mdi/


Material Design Icons - Icon Library - Pictogrammers

The original. Following Google's Material Design guidelines for system icons, MDI is our largest library, touting over 7200 unique icons!

pictogrammers.com


AppBar.vue 수정

<v-btn class="ml-2" min-width="0" text to="/">
   <v-icon>mdi-home</v-icon>
 </v-btn>
 <v-btn class="ml-2" min-width="0" text to="/login">
   <v-icon>mdi-logout</v-icon>
</v-btn>


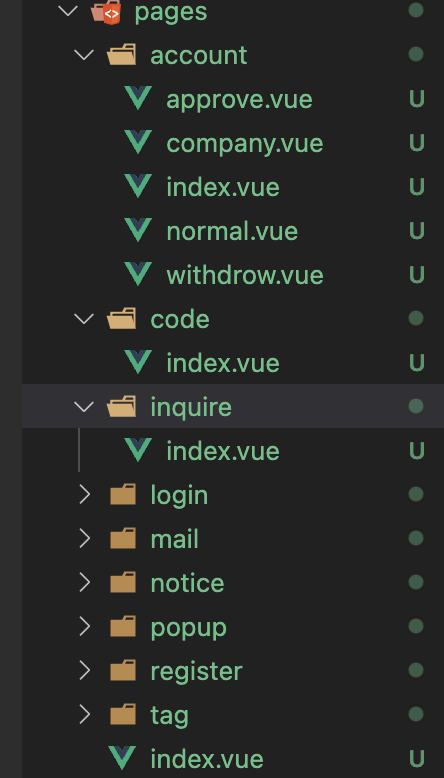
5. 메뉴추가한 URL 들은 실제로 page/ 아래에 컴포넌트로 정의되어있어야 한다.


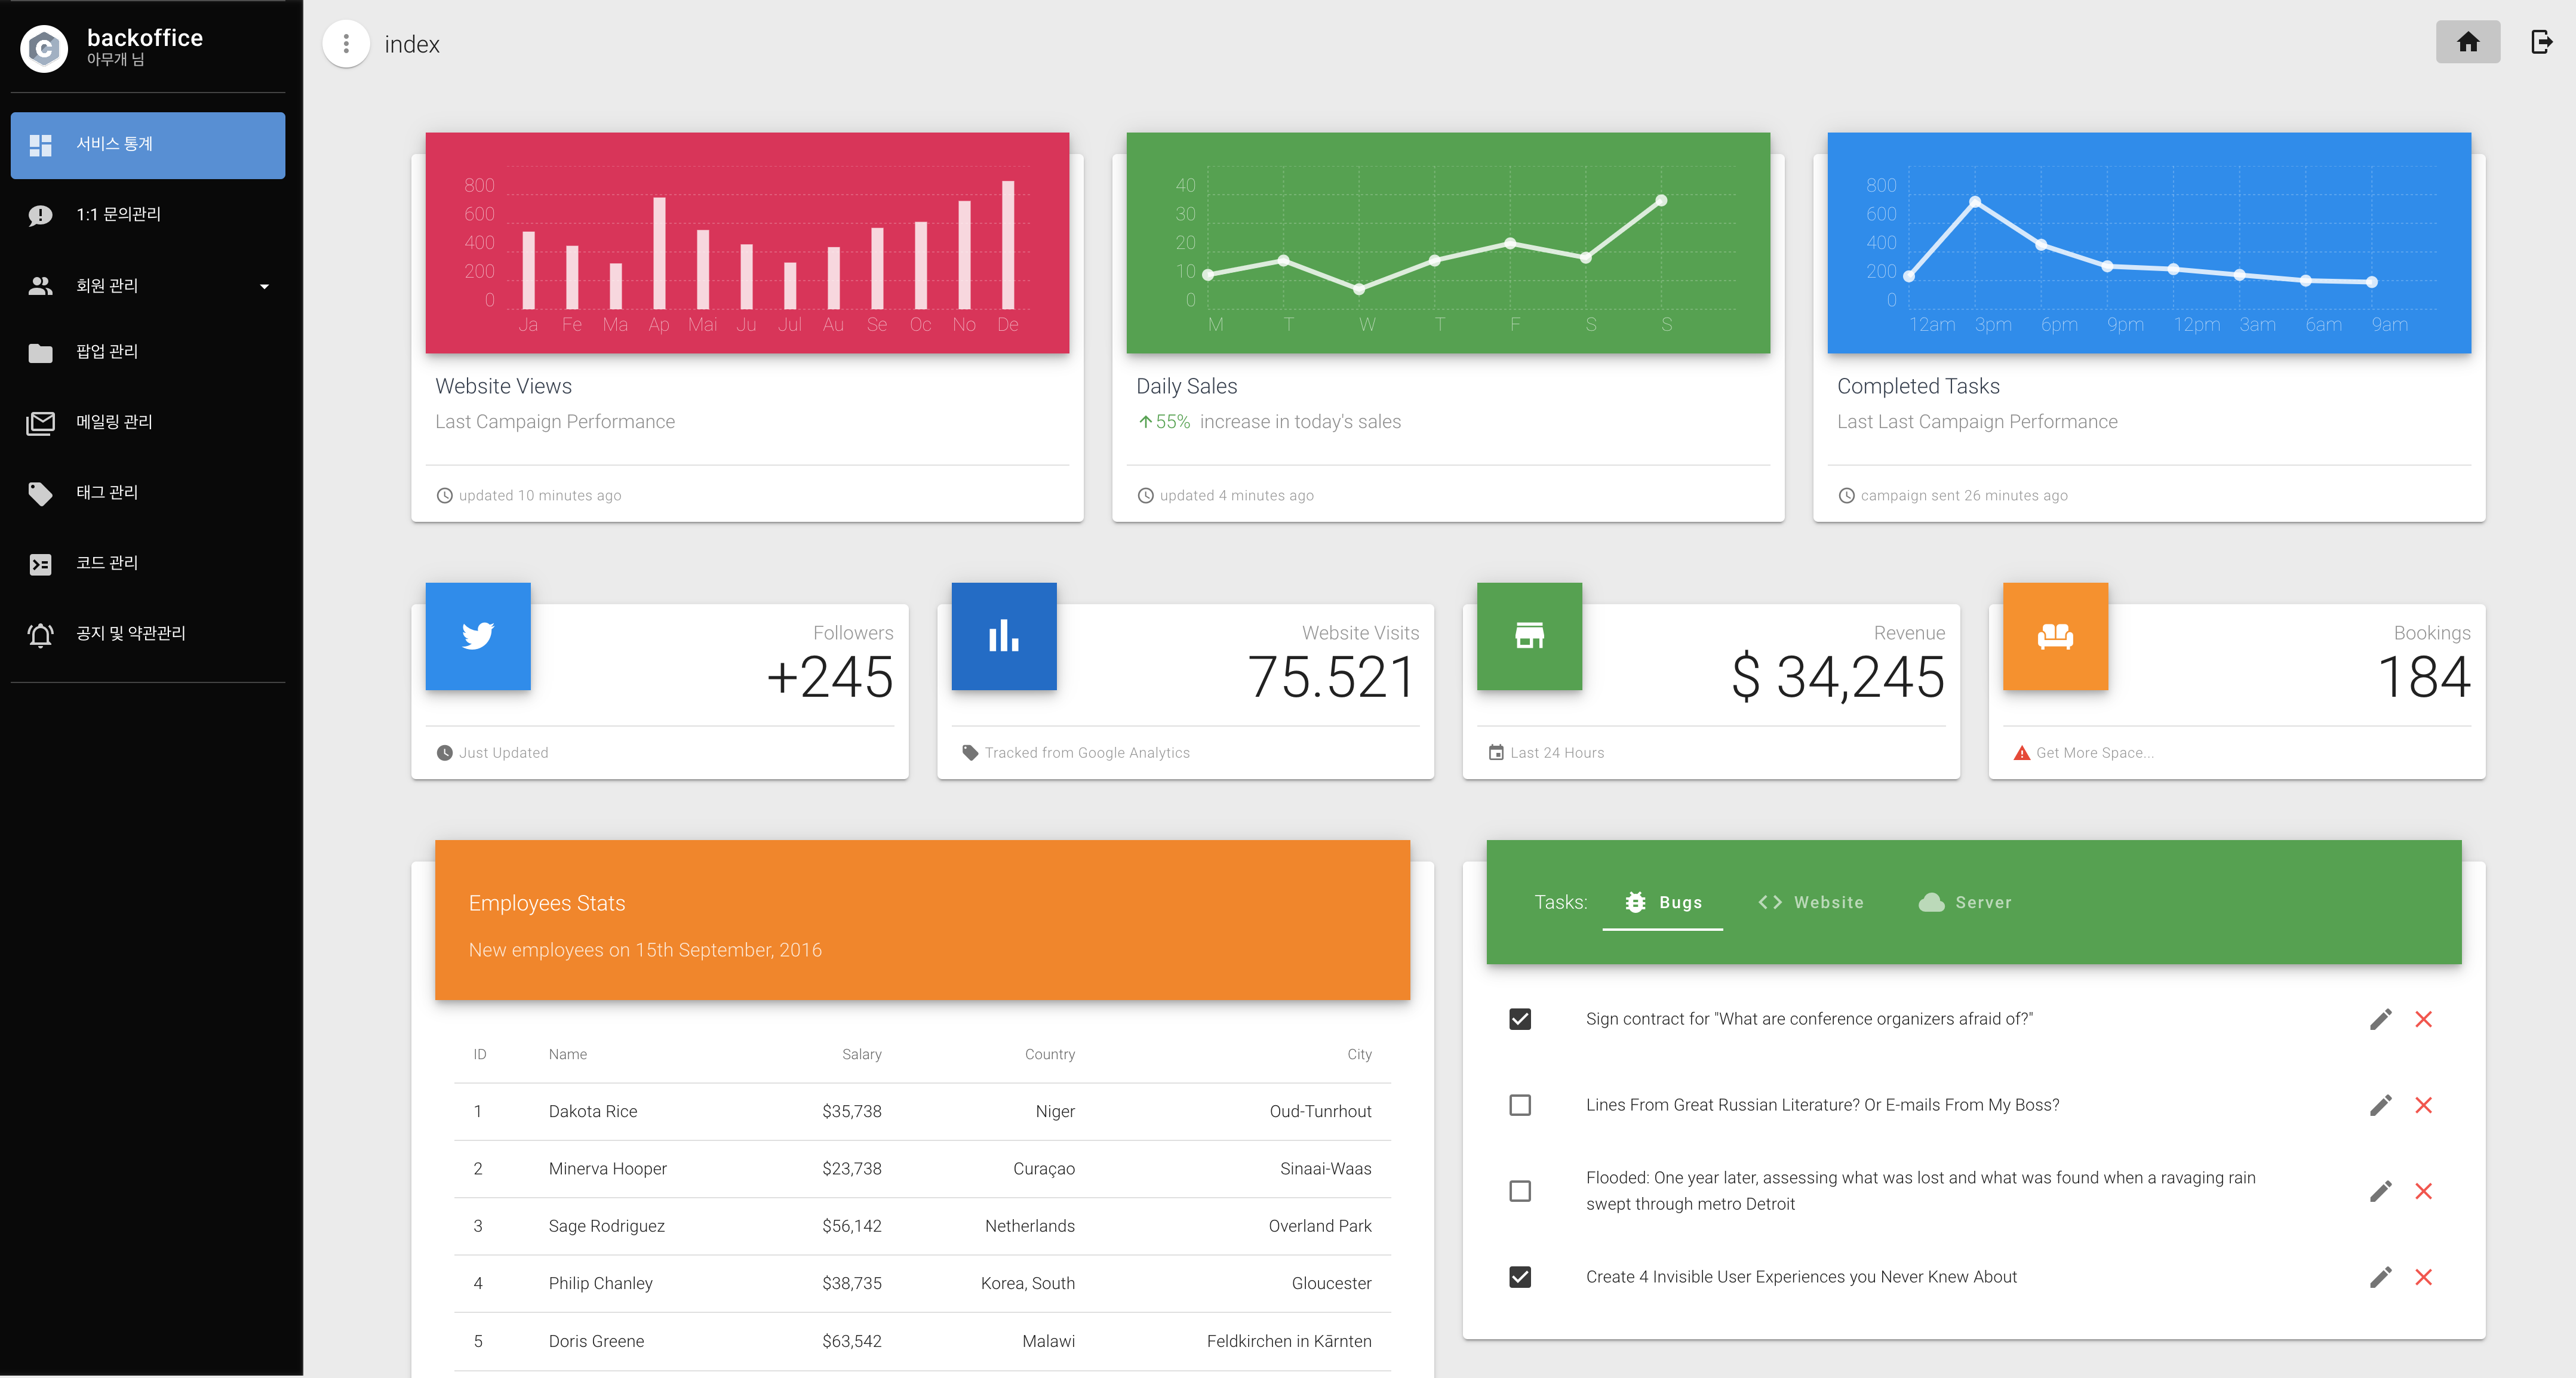
6. yarn dev로 실행후 http://localhost:3000/ 로 접속을 해보자!

그래프와 표는 기존에 제공하는 양식을 가져다 붙이기만하였다.


'web > Vue' 카테고리의 다른 글

JWT에 대한 고찰  (0) 2023.09.13
Nuxt(Vue) 로 admin page 만들기 (2)  (0) 2023.09.05
Nuxt 구조  (0) 2023.09.01
Nuxt 로 Vue 환경세팅  (0) 2023.08.31
Nuxt 란  (0) 2023.08.31