Spring 어플리케이션에서 HTTP 요청을 할 땐 주로 RestTemplate 을 사용했었다.
하지만 Spring 5.0 버전부터는 RestTemplate 은 유지 모드로 변경되고 향후 deprecated 될 예정이므로
WebClient 쓰기를 적극 권장하고있다.
(참고 https://docs.spring.io/spring-framework/reference/web/webflux-webclient.html)
WebClient 는 논블로킹/블로킹 모두 지원한다.(참고로 RestTemplate는 블로킹방식이다.)
특징
- 싱글 스레드(코어당 1개의 스레드)와 Non-Blocking 방식 사용
- 높은 처리량과 확장성이 좋다.
- 이벤트에 반응형으로 동작(Spring React 프레임워크 사용)
- Reactor 기반의 Functional API이다
- 선언적 방식으로 API 호출을 정의하므로, 가독성이 좋다.
- RestTemplate과 같이 HTTP 요청 후 응답받을 수 있는 템플릿 역할
1. dependency 추가
implementation 'org.springframework.boot:spring-boot-starter-webflux'
2. HTTP 통신이 가능한 공통 통신모듈을 만든다.
public class HttpWebClient {
    private WebClient webClient; // webclient 인스턴스
    private DefaultUriBuilderFactory factory; // URI 템플릿의 인코딩을 위한 설정(제대로된 파라미터 셋팅을 하기위해 필수)

    public HttpWebClient(String uri){
        factory = new DefaultUriBuilderFactory(uri);
        factory.setEncodingMode(DefaultUriBuilderFactory.EncodingMode.VALUES_ONLY); // URI 변수 인코딩
        webClient =  WebClient.builder()
                .uriBuilderFactory(factory)
                .baseUrl(uri)
                .build();
    }

}
WebClient를 사용해서 그냥 호출하게 되면 인코딩을 하지 않아 API 키가 달라지는 경우가 생길수가 있기에
요청의 파라미터 셋팅을 하기 위한 URI 템플릿의 인코딩을 위한 설정(DefaultUriBuilderFactory 인스턴스를 생성)을 필수로 해줘야한다.
나는 생성자를 통해 WebClient 를 초기화 시켜주었다.
(공식문서 참조
DefaultUriBuilderFactory.EncodingMode (Spring Framework 5.0.4.RELEASE API)
Comprehensive encoding of URI variable values prior to expanding: Apply UriUtils.encode(String, Charset) to each URI variable value. Expand URI variable values. This mode encodes all characters with reserved meaning, therefore ensuring that expanded URI va
docs.spring.io
)
3. HTTP GET 통신을 위한 메소드를 하나 만들어주었다.
public Mono<String> httpRequestGet(String url, MultiValueMap<String,String> params) throws WebClientResponseException,Exception {
    //log.debug("[KAKAO_Request_Param]:"+params);
    return webClient.mutate().build() // 기존 설정값을 상속해서 사용
            .get() // Http Method
            .uri(uriBuilder -> uriBuilder.path(url).queryParams(params).build()) // url 설정후, 쿼리매개변수 추가
            .accept(MediaType.APPLICATION_JSON) // 응답형식 JSON
            .retrieve() // HTTP 요청을 실행하고 응답을 받아옴
            .onStatus(httpStatus -> httpStatus != HttpStatus.OK,
                    clientResponse -> {
                        return clientResponse.createException();
                    })
            .bodyToMono(String.class);
}
- 생성자를 통해 만든 Webclient의 기존 설정을 상속받아 처리하기 위해 mutate() 를 사용
- builder() 를 다시 생성후 추가적인 옵션을 설정
- uri(path(url)) 기존 URI 경로에 새로운 url 경로를 추가한 후 queryParams(params) 메서드로 쿼리열에 추가될 매개변수를 정의한다.
- 응답형식을 JSON 으로 정의후
- retrieve 로 HTTP 요청을 실행후 응답을 받아온다.
- onStatus() 에 200 OK 가 아닐경우 예외처리한다.
- HTTP 응답이 일반적으로 1개이기 때문에 Mono로 반환한다.(여러개를 처리해야하는 상황이면 비동기로 Flux)
-POST 도 만드는김에 같이 만들었다.
public Mono<String> httpRequestPost(String url, JSONObject params) throws WebClientResponseException,Exception {
    //log.debug("[KAKAO_Request_Param]:"+params);
    return webClient.mutate().build()
            .post()
            .uri(url)
            .accept(MediaType.APPLICATION_JSON)
            .contentType(MediaType.APPLICATION_JSON)
            .body(BodyInserters.fromValue(params.toString()))
            .retrieve()
            .onStatus(httpStatus -> httpStatus != HttpStatus.OK,
                    clientResponse -> {
                        return clientResponse.createException();
                    })
            .bodyToMono(String.class);
}
4. Kakao와 외부 API 통신을 하기위해 따로 Component 를 만들어주었당
@Slf4j
@Component
public class KakaoWebConfig {
    private HttpWebClient httpWebClient;

    public KakaoWebConfig(){
        LinkedMultiValueMap header = new LinkedMultiValueMap<>();
        header.add(Constants.AUTH_HEADER, Constants.TOKEN_TEMP);
        header.add(Constants.AUTH_HEADER_ACCOUNT_ID, Constants.ACCOUNT_ID);
        httpWebClient = new HttpWebClient(header);
    }

    /**
     * 카카오 캠페인 리스트
     * @return
     * @throws Exception
     */
    public Map<String,Object> getKakaoCampaignList() throws Exception {
        // 동기통신이므로 block 처리
        String monoResult = httpWebClient.httpRequestGet(Constants.URI_CAMPAIGNS,  null).block();
        log.info("monoResult:"+monoResult);
        return ConvertUtils.strToMap(monoResult);  // 결과값변환
    }
}
내가 정의한 클래스 전체를 Bean 등록을 하기에 @Component 를 이용하였다.
@Configuration+@Bean 은 외부라이브러리나 내장클래스에서 Bean등록을 해야할 경우 이용한다. 참고하길
5. 컨트롤러 정의
@Operation(summary = "카카오모먼트 캠페인 목록조회", description = "등록된 캠페인 리스트를 조회한다.")
@GetMapping("/campaign/list")
public ResponseEntity<?> getKakaoCampaignList(){
    //Result result = Result.ok();
    Map<String,Object> resultMap = new HashMap<>();
    try {
        log.info("카카오 모먼트 캠페인 조회 API");
        resultMap.put("list",kakaoWebConfig.getKakaoCampaignList());
        return ResponseEntity.ok(resultMap);
    } catch (Exception e){
        log.error("[카카오모먼트_캠페인조회 EXCEPTION]:"+e.getMessage(), e);
        return ResponseEntity.status(HttpServletResponse.SC_INTERNAL_SERVER_ERROR).body(e.getMessage());
    }
}
6. 결과
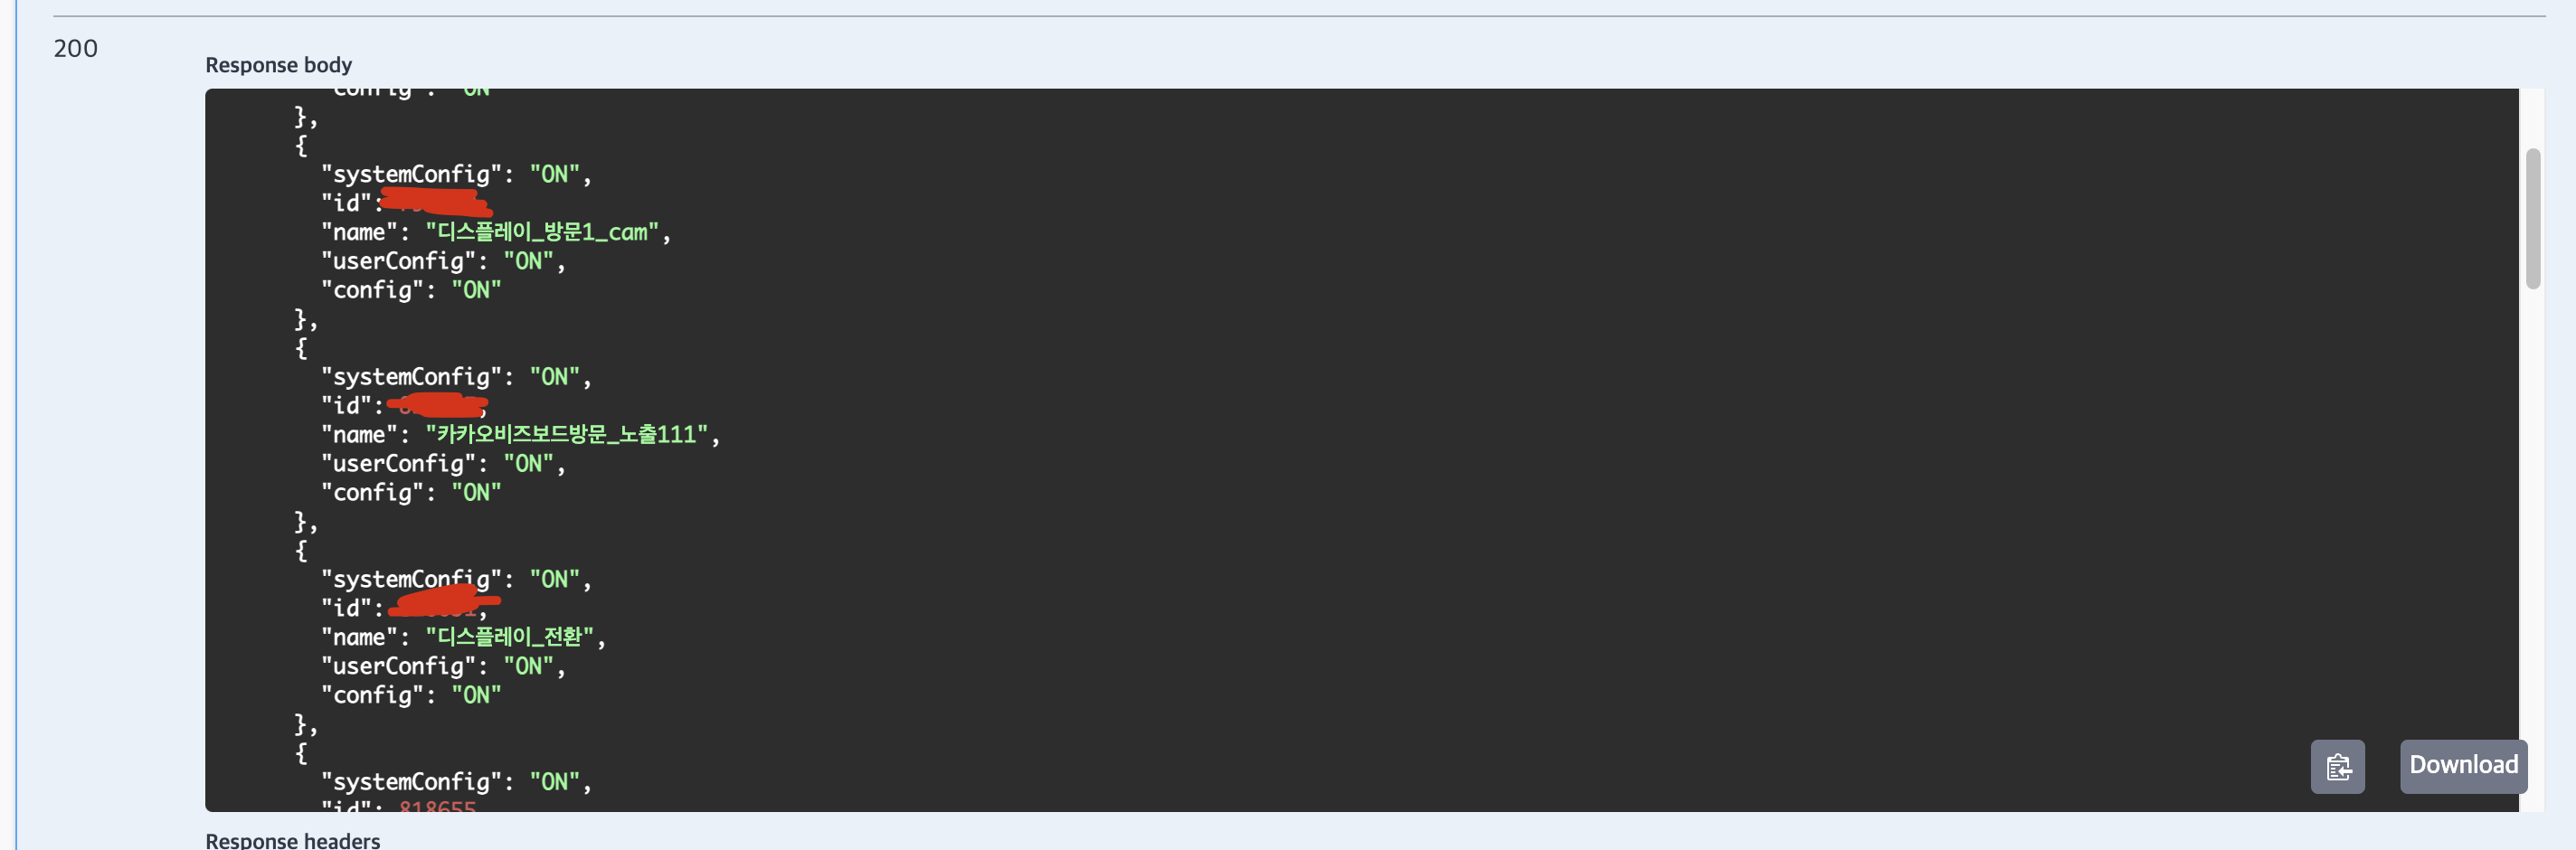
잘나와유...
그럼 이만 뿅
'web > SpringBoot' 카테고리의 다른 글
| [REST API] @Configuration / @Component (1) | 2023.11.14 |
|---|---|
| [Mybatis] Mybatis 에서 useGeneratedKeys 와 selectkey (1) | 2023.11.13 |
| [REST API] 페이징(Paging) 처리하기 (0) | 2023.11.06 |
| [REST API] Serializable 정말 구현해야 할까? (1) | 2023.10.18 |
| 파일다운로드 시 PDF 워터마크 처리하기 (1) | 2023.10.17 |